Projecting at Conferences Using OBS Streaming Software #
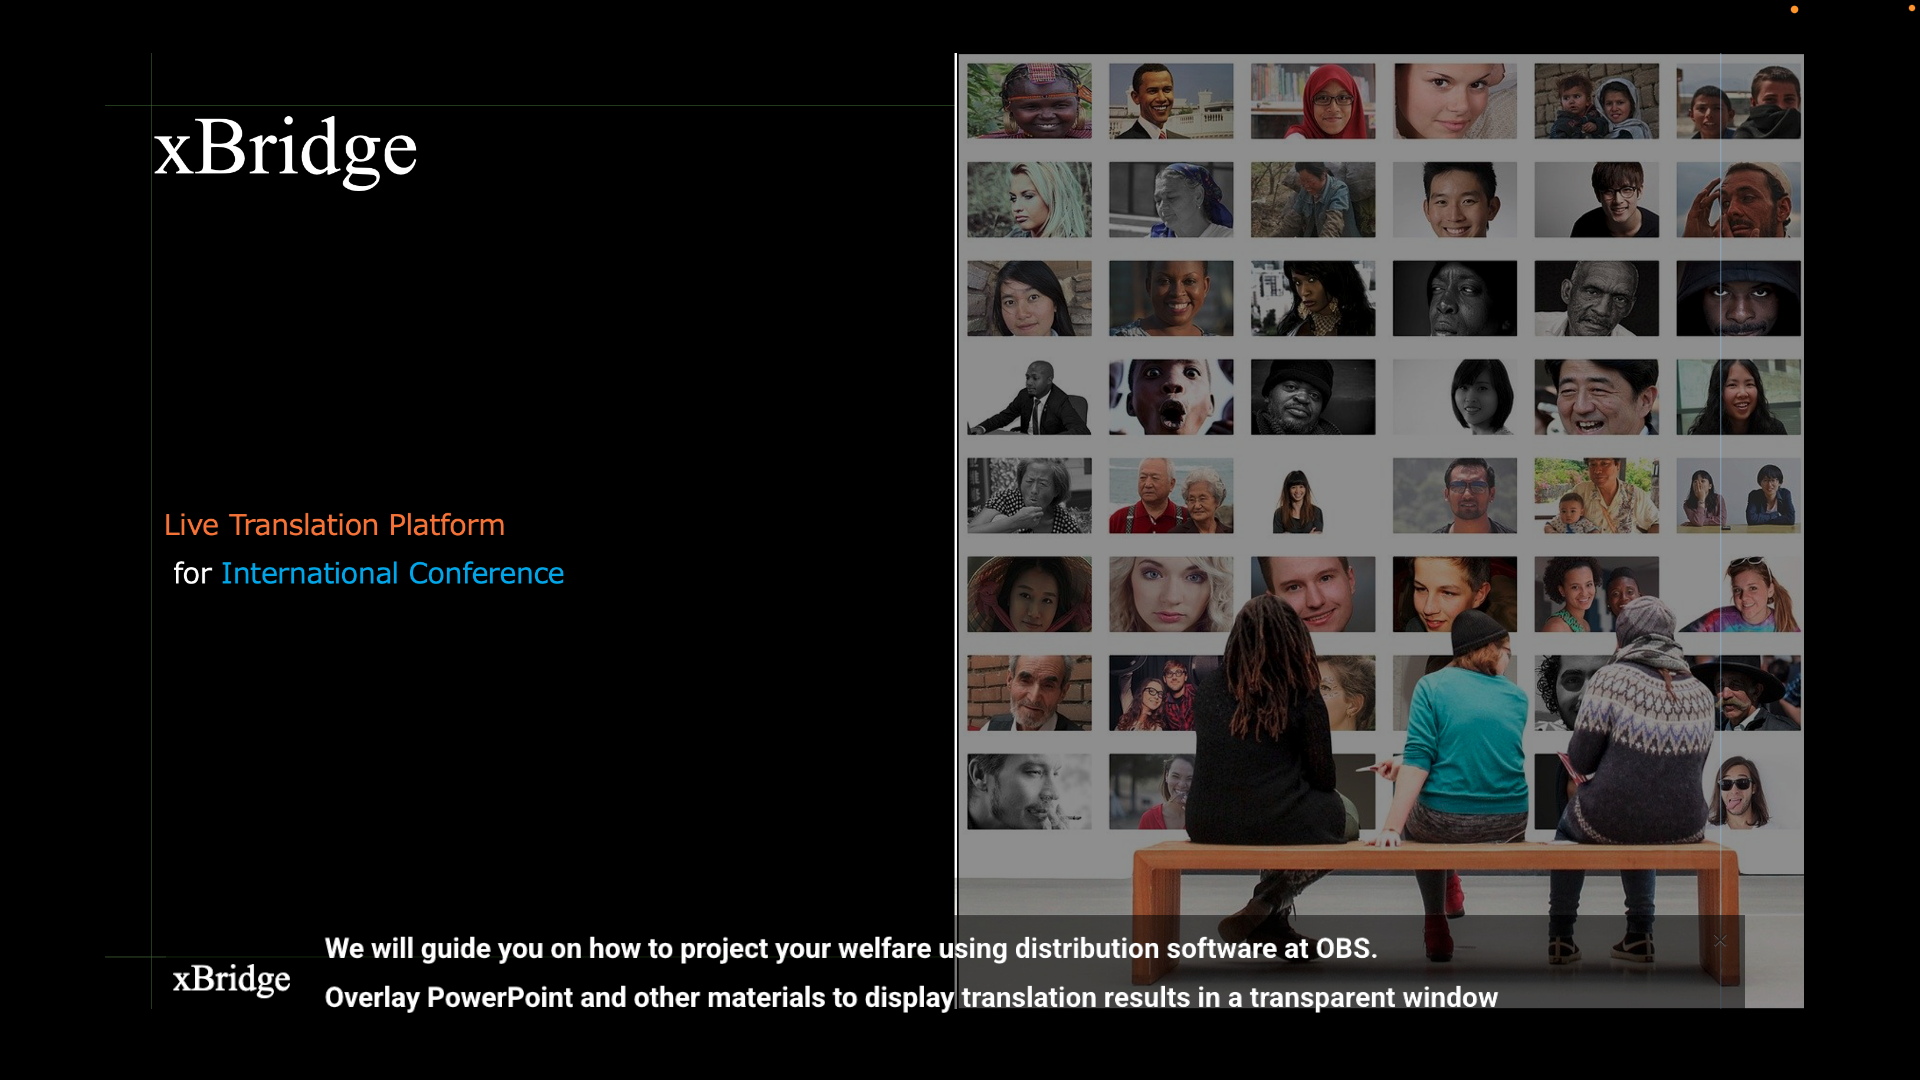
Generally, in conference venues with 50-100 or more participants, streaming software is used to project materials. As a projection method for such conferences, we will introduce how to project xBridge using the streaming software OBS. With projection, you can display subtitle results transparently together with presentation materials like PowerPoint, as shown in the photo below.
Screen Projection Translation Mode is also available
This guide is created using the screen projection subtitle mode described in Joining a meeting as a viewer (screen projection subtitle mode), but you can use the same operations in translation mode as well.
1. Prepare Hardware Equipment #
1-2. Prepare Venue Hardware Equipment #
The hardware equipment configuration to be used is as follows. Projection from the streaming PC to the screen varies by venue, so please adjust accordingly.
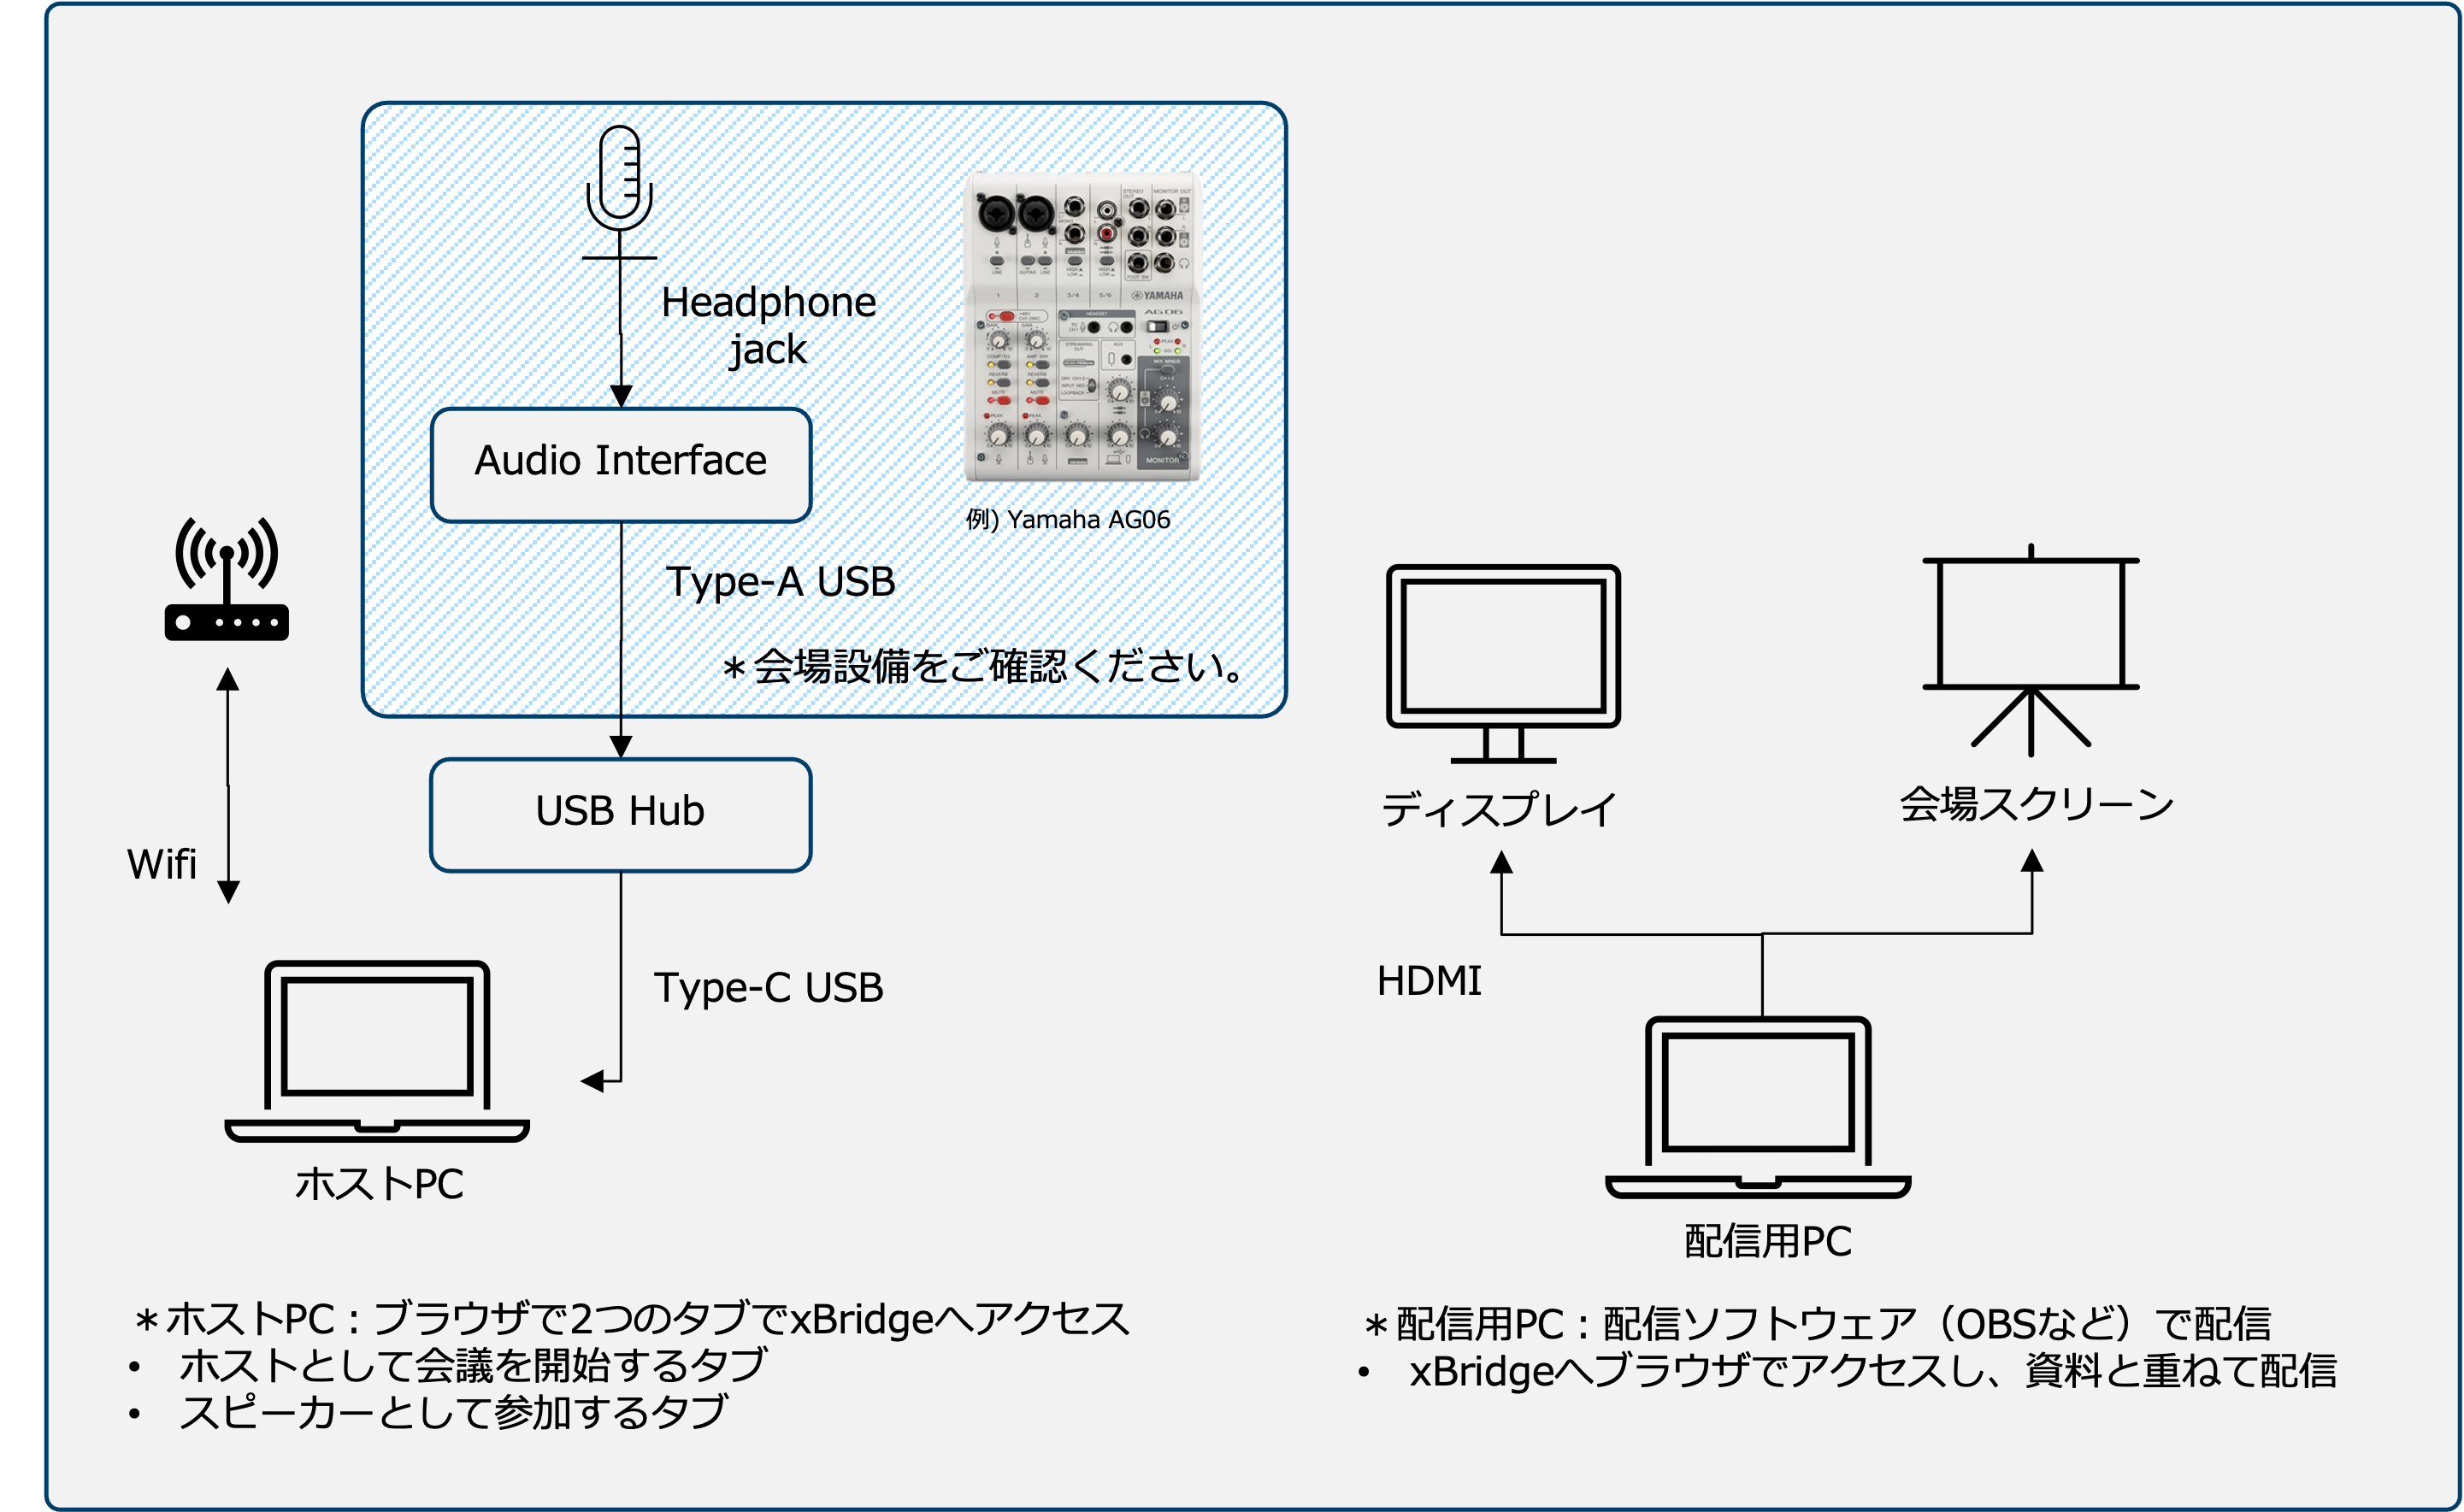
| Hardware | Overview |
|---|---|
| Host PC | Accesses xBridge and operates as a host to start and end meetings. Also simultaneously accesses xBridge as a speaker and inputs audio to distribute interpretation to participants. |
| Audio Interface | Used to input audio from the venue to the host PC via microphone. Not necessary if the microphone is directly connected to the host PC, but for conferences, audio input is separated to distribute to multiple sources. |
| WiFi for Host PC | WiFi for the host PC. Please isolate from participant communications and ensure stable internet connection. |
| Streaming PC | The streaming PC that operates what is projected on the venue screen. Generally managed using streaming software. This guide uses OBS. |
| Extended Display for Streaming PC | An extended display to check the screen of materials being projected. |
1-2. Host PC Setup #
Please set up the host PC by referring to Basic PC configuration for hosts.
2. Meeting Creation and Setup #
2-1. Create a Meeting as Host #
Please create a meeting by referring to the guide Creating a meeting.
2-2. Start a Meeting as Host #
Next, open a browser (Google Chrome) and start the meeting as a host. For how to start a meeting, please refer to the guide Starting a meeting.
2-3. Join the Meeting as a Speaker #
Next, open a new tab in the host PC’s browser and join the meeting as a speaker. For how to join a meeting, please refer to the guide Joining a meeting as a speaker. If the speaker’s language changes during the meeting, please exit once, select the language again, and rejoin.
Please maintain the meeting in a started state as the host
During the meeting, never close the tab where the host is participating and maintain the meeting in a started state. If the host leaves the meeting, other participants will be forcibly removed.
3. Design Adjustment for Screen Projection #
On the streaming PC, join the meeting and adjust the screen design by referring to the guide
“Display Settings” in Joining a meeting as a viewer (screen projection subtitle mode).
After adjustment, press the CREATE AND COPY button for Shared Link (Fullscreen Mode) to copy the shared link.
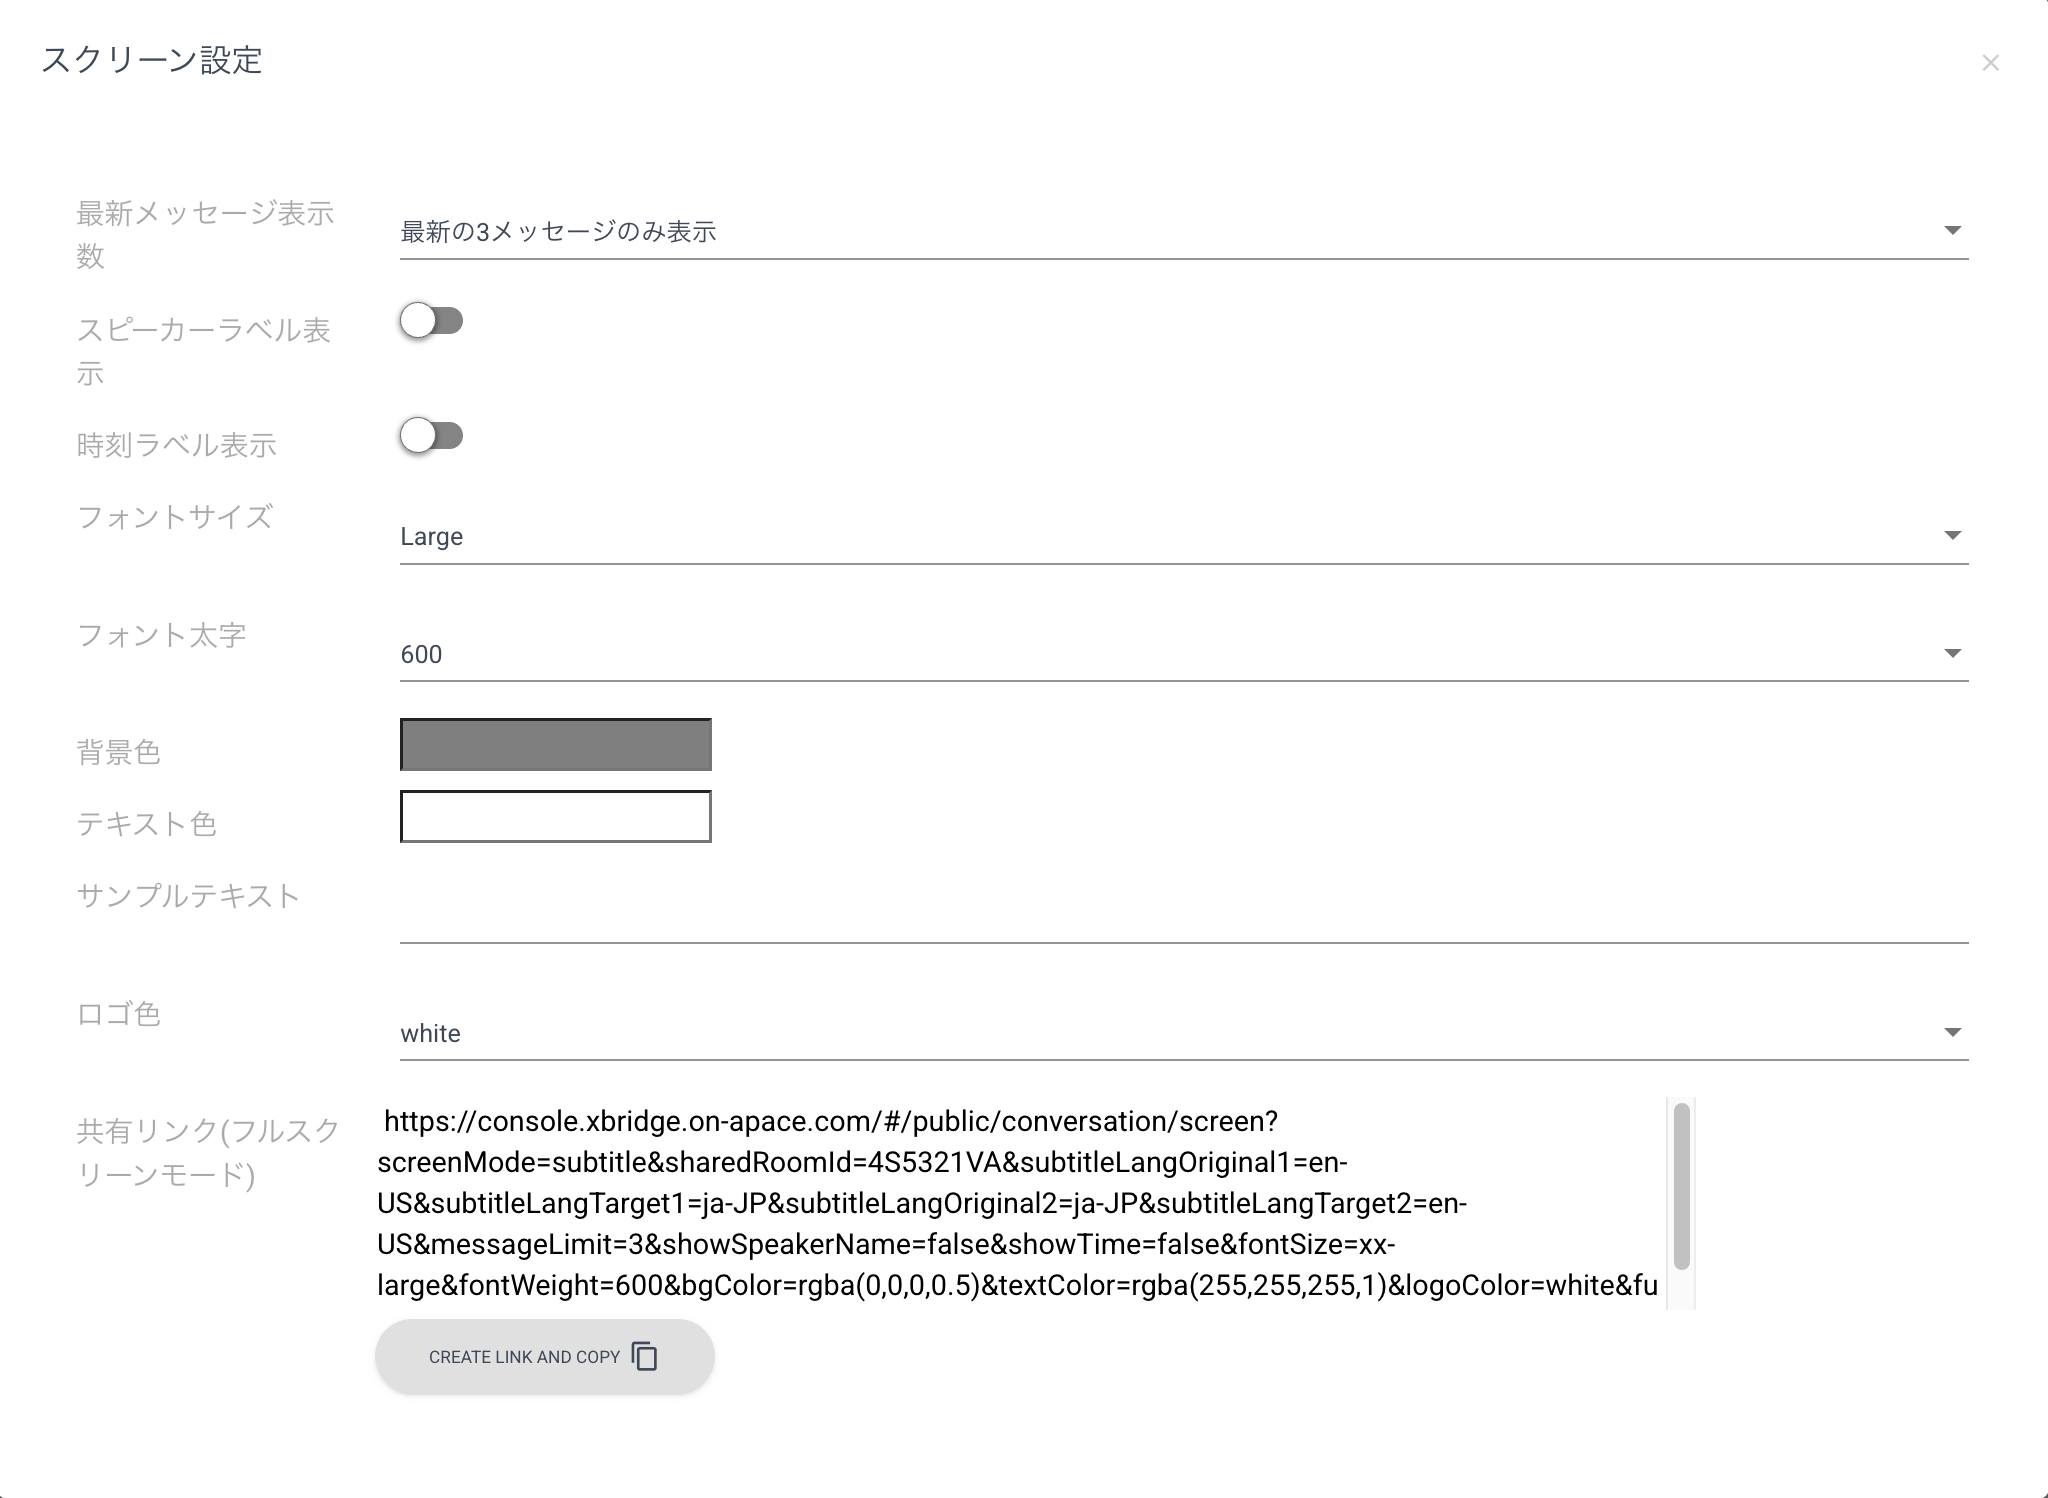
Design sample. Displays the latest 3 messages with large font size.
4. Projection with OBS Streaming Software #
4-1. Install OBS Streaming Software #
Please install OBS on the streaming PC for the day of the event. The installer can be downloaded from Download OBS Studio.
4-2. Add Sources to Project in OBS #
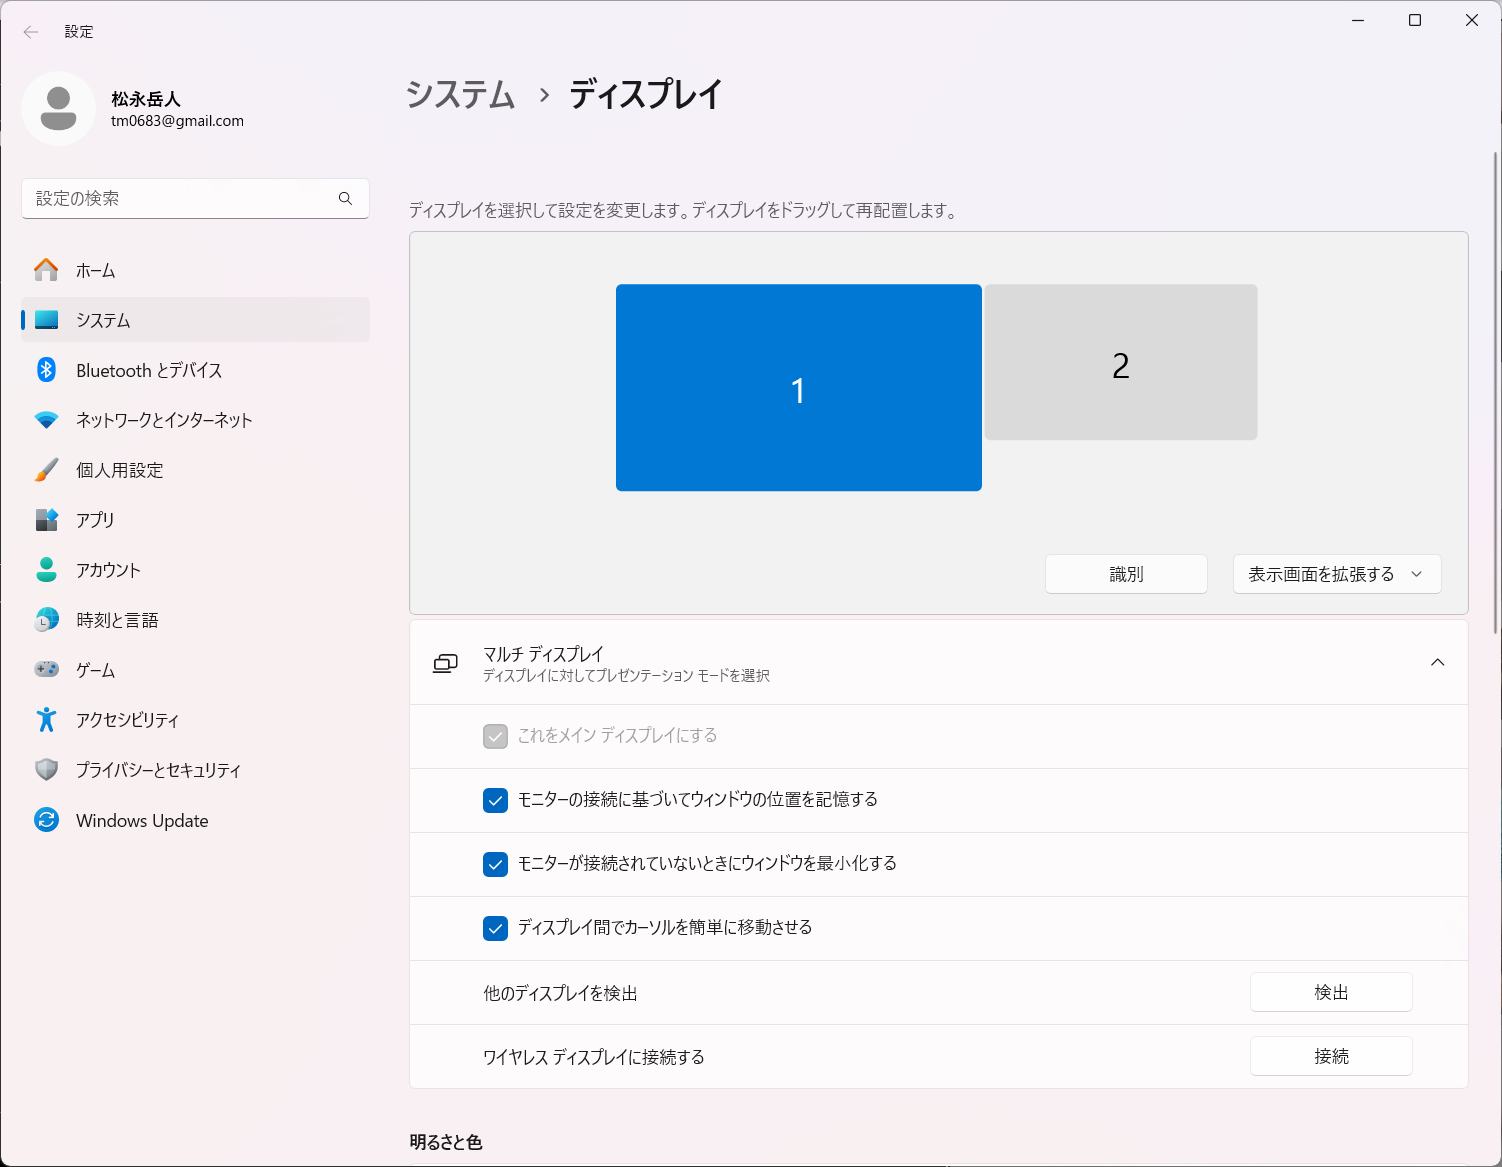
From Windows System Display, select Extend these displays and set the connected display as an extended screen.
If you are using PowerPoint, please switch to presentation mode and confirm that the screen is displayed on the extended display.
Projection is also possible with windows instead of extended screens.
This guide describes projecting materials to an extended display connected to the PC main unit and streaming the entire screen. If an extended display cannot be arranged, you can display PowerPoint materials in window mode in presentation mode and project it using OBS’sWindow Capturefunction. However, in this case, a status bar will be displayed at the bottom of PowerPoint.
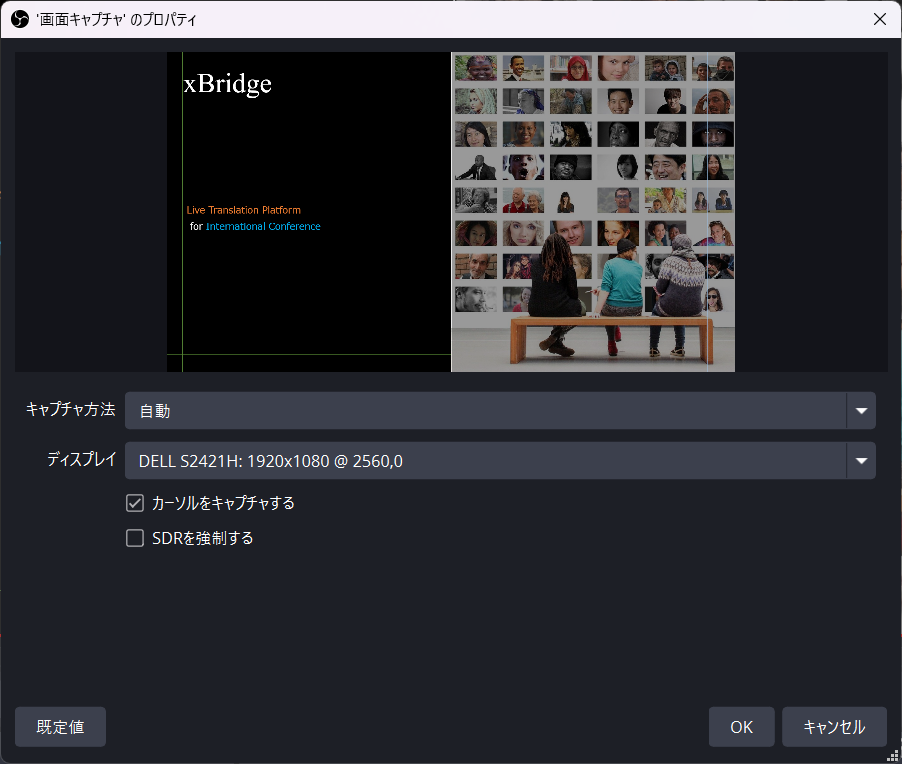
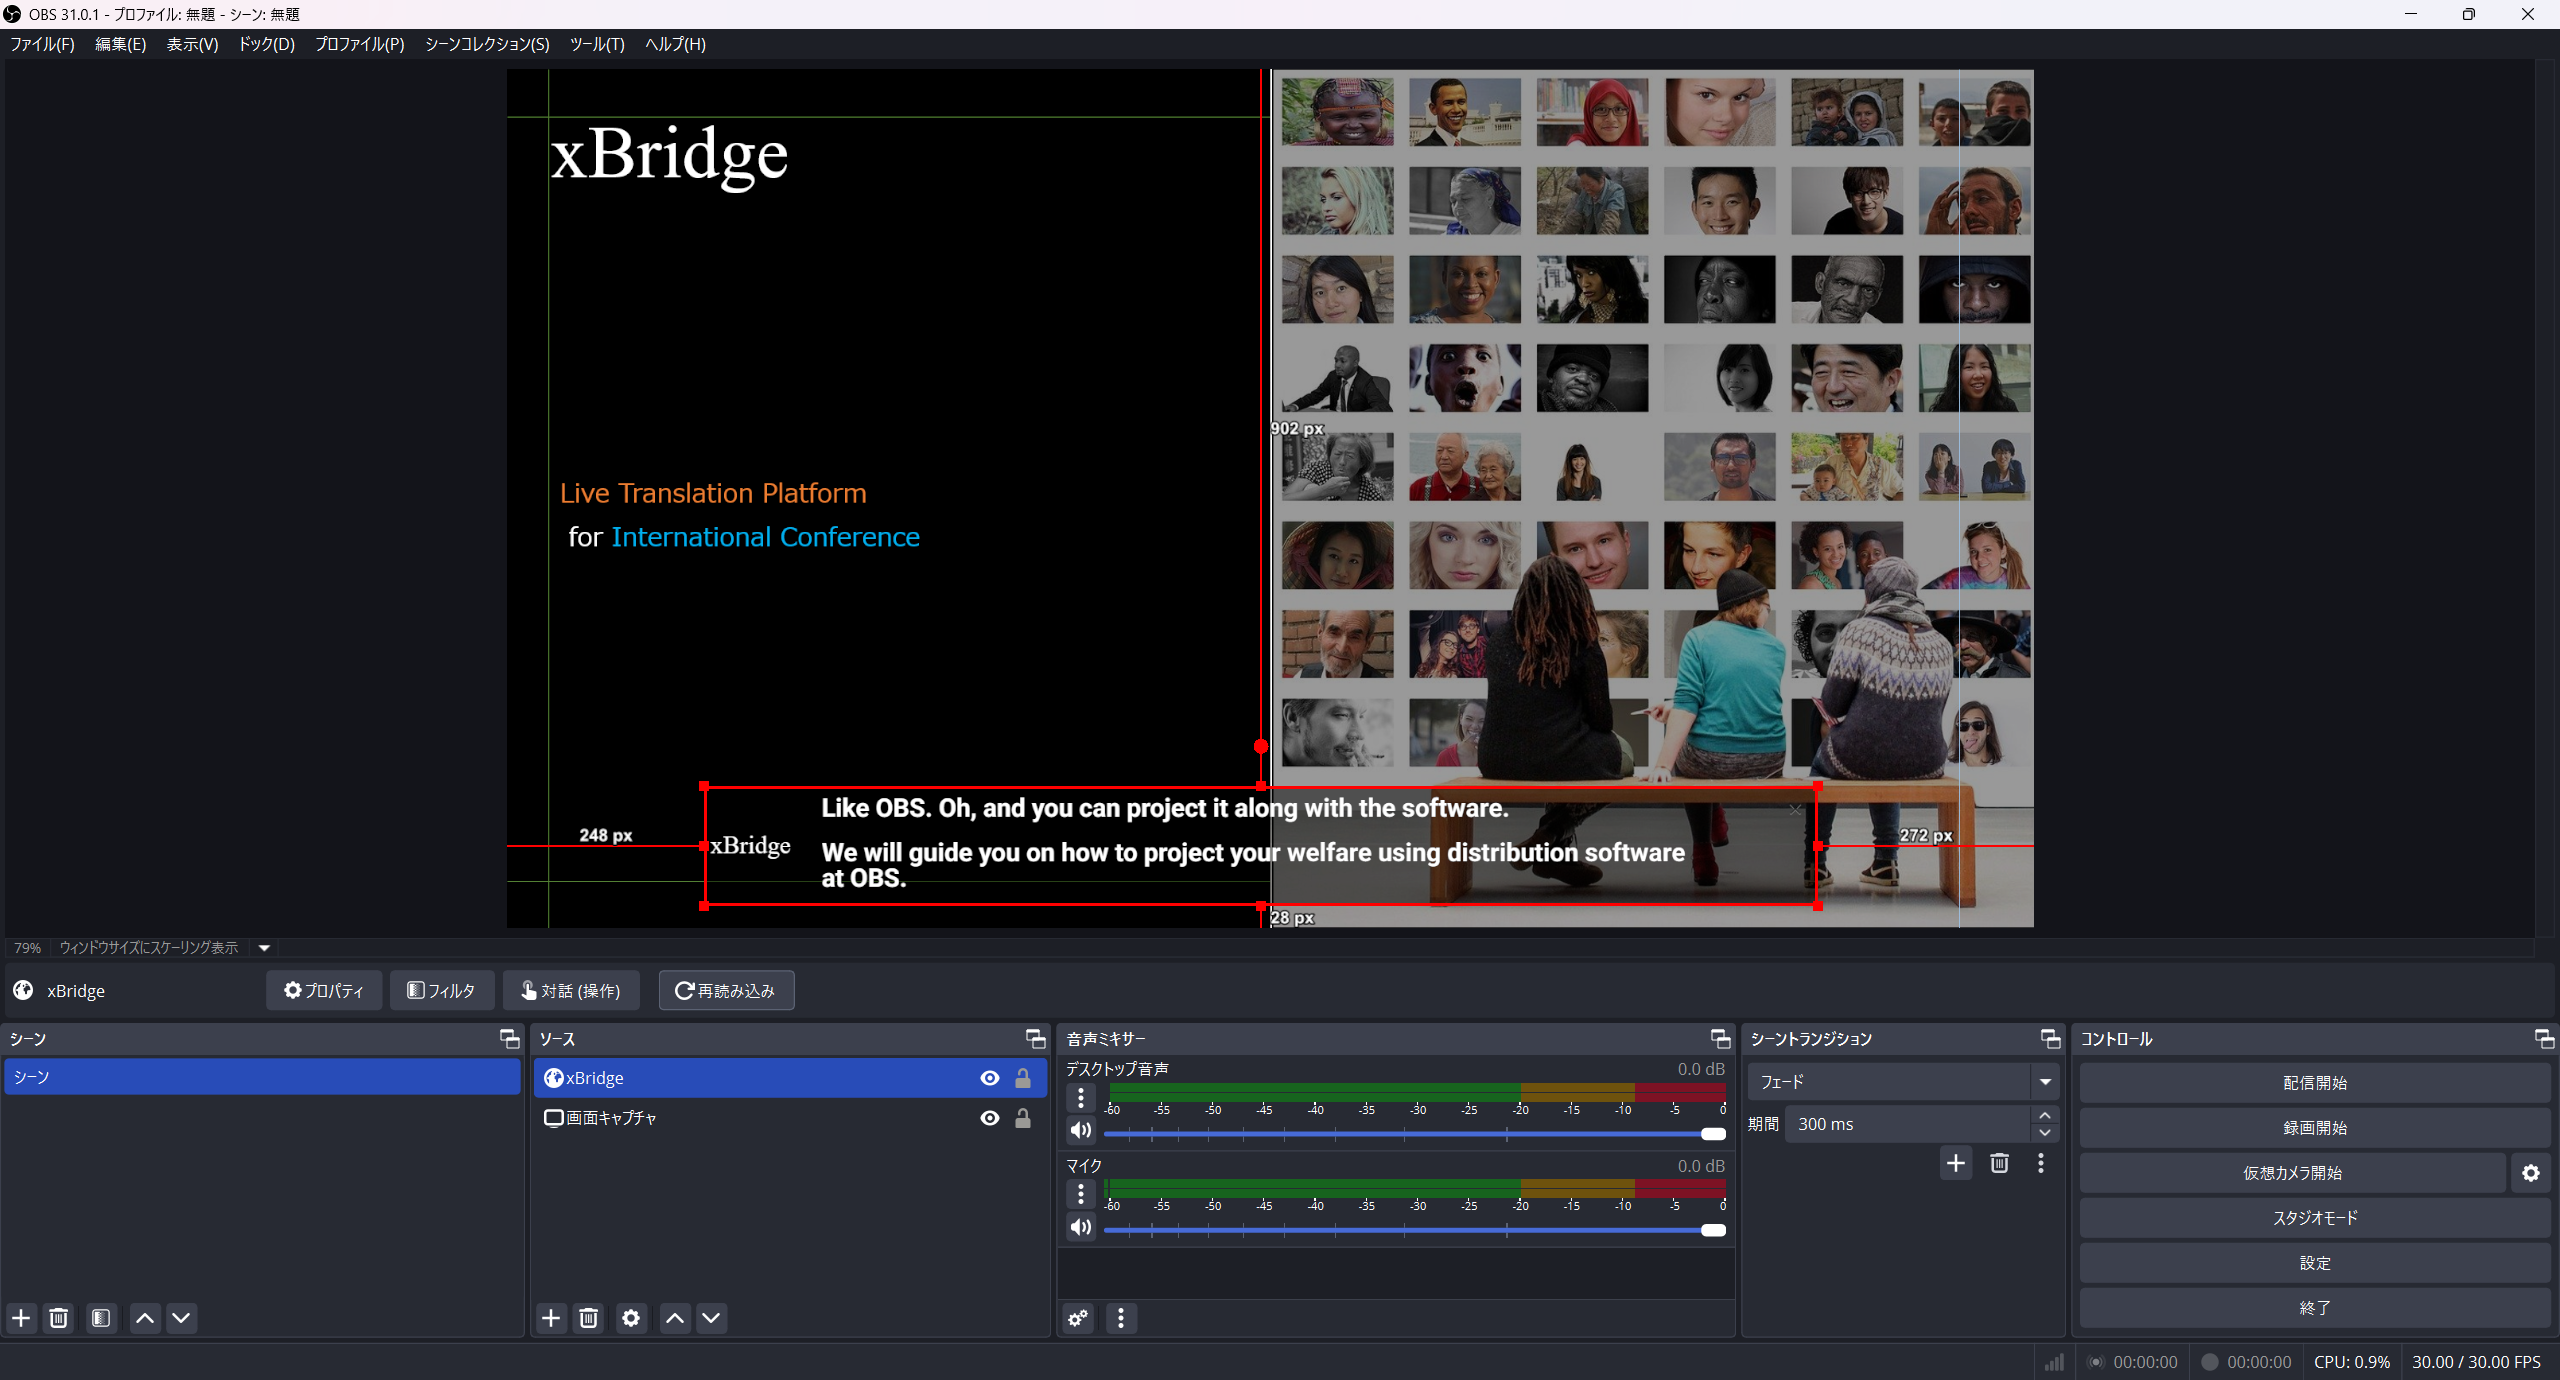
Open OBS and click to add a source from the + button in Sources.

Select Display Capture.
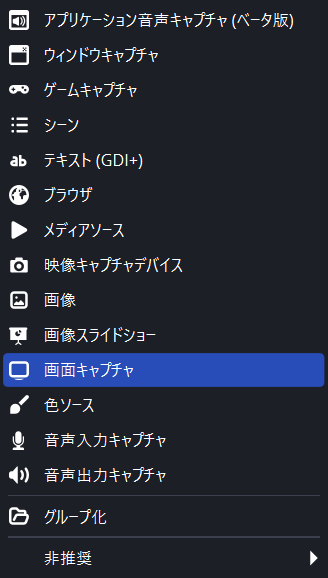
Select the extended display where materials are being projected. (Example: DELL S2421H)
4-3. Add xBridge as a Source in OBS #
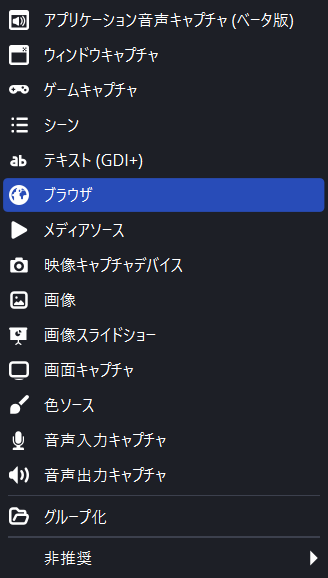
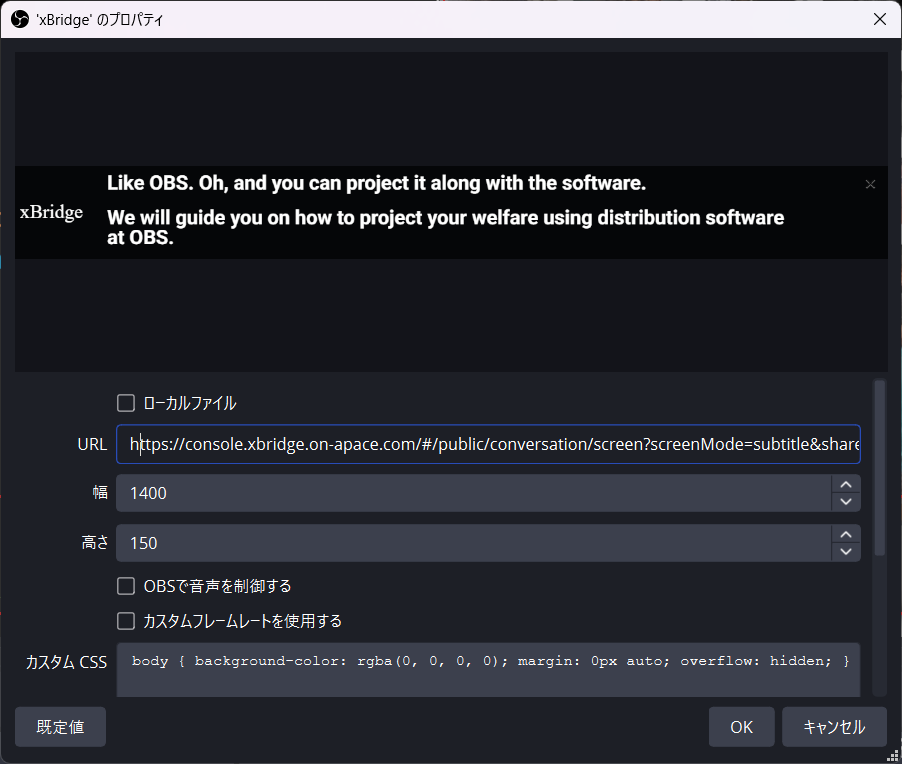
Open OBS and click to add a source from the + button in Sources.
Select Browser.
Add the Shared Link (Fullscreen Mode) copied in step
3. Design Adjustment for Screen Projection to the URL in OBS browser settings.
Please set other items such as Width and Height according to your environment.
4-4. OBS Source Layout Adjustment #
Please adjust the size of the two added sources to match the projection screen.
4-5. OBS Projection to Screen #
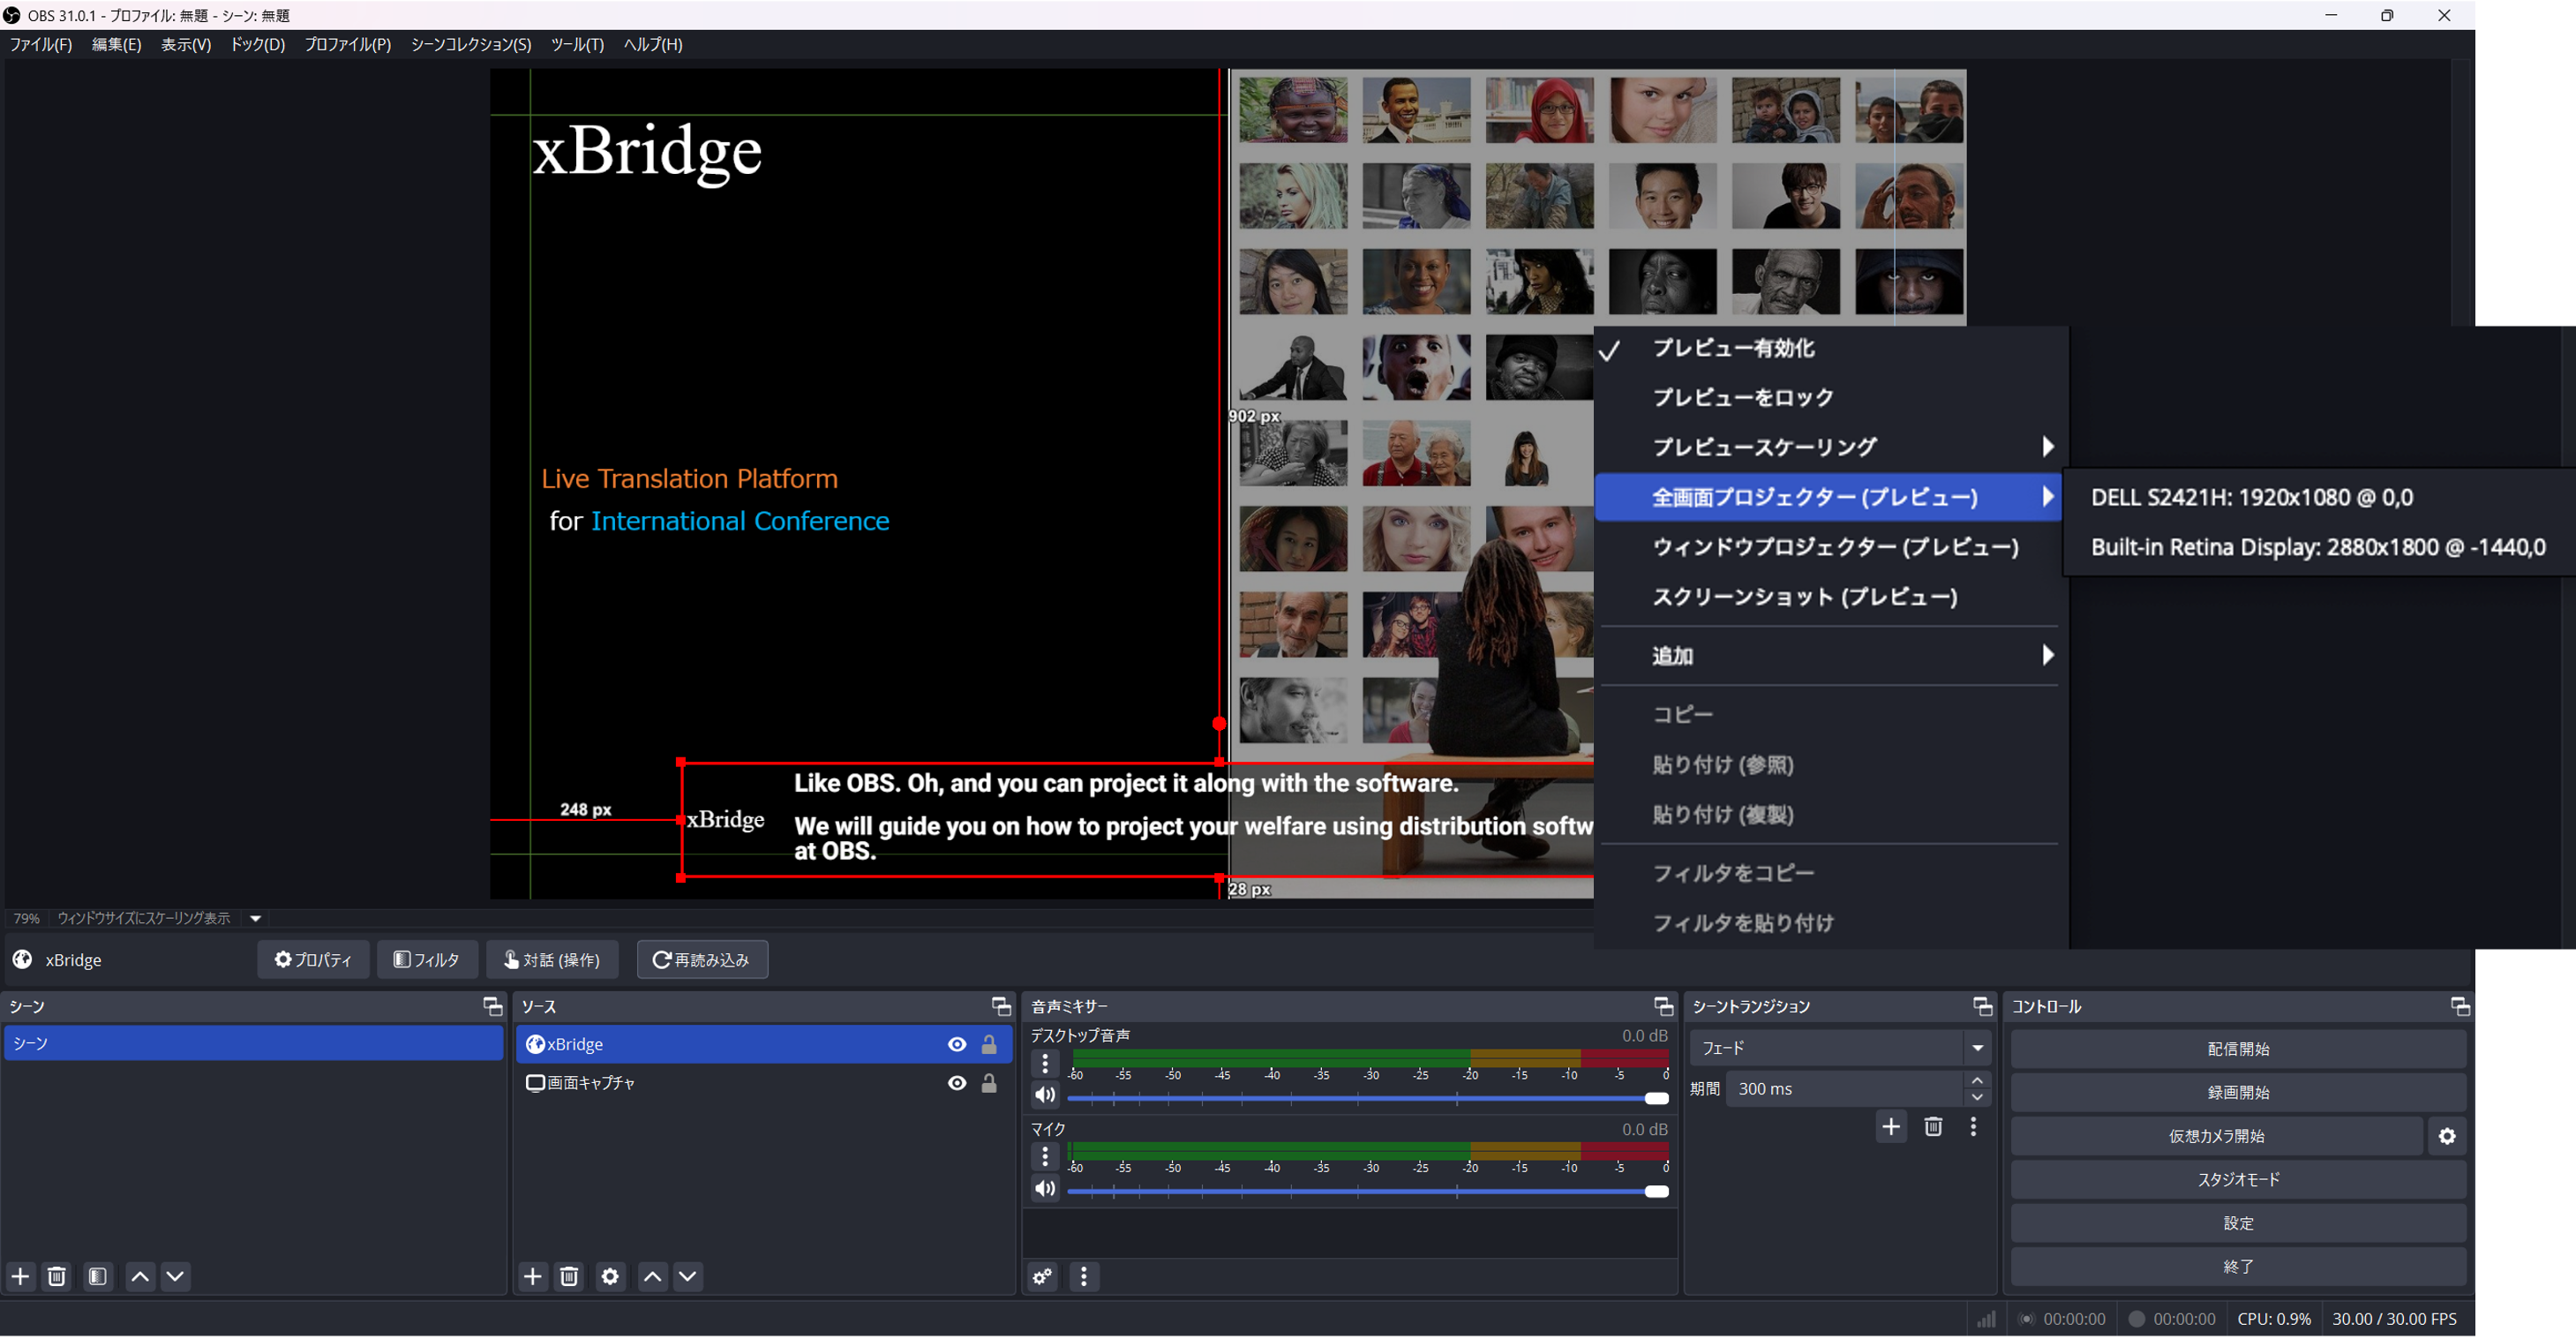
To output to the connected HDMI screen, right-click the layout at the top of the screen and select the screen to project from Fullscreen Projector (Preview).
For other streaming destinations, please see the
OBS help page.
5. Venue Preparation/Day of Event Proceedings #
5-1. Venue Preparation #
- To enable users to use xBridge on smartphones at any time, we recommend electronically distributing participant viewer links via email or other means.
- To enable users to use xBridge on smartphones at any time, attach QR codes for participant viewers at the venue.
5-2. Day of Event Proceedings #
- On the day of the event, during OBS projection, the meeting host must keep the meeting in a started state.
- We recommend that the host start the meeting 15 minutes before the session begins on the day of the event so that users can enter.